I read a lot of tech success stories, but most of them revolve around building out or creating cool stuff. Last week, I had a catastrophic disk failure, and all I wanted was to find some recorded notes about disk recovery in Linux with ZFS. This is a record of my experience to illustrate the strength and maturity of ZFS on Linux and potentially help anyone in a similar situation in the future.
For some context so you know what I'm working with:
- I'm on Arch Linux using ZFS on Linux. Think whatever you want about the bleeding-edgeness of Arch and novelty of ZoL, but both have been extraordinarily stable for me and a pleasure to use.
- My array is 4 disks in a RAIDZ2. I know that I shouldn't do this (Hi Jim!), but it's on my to-do list to fix. At least I can lose lots of disks and be okay.
- My use case for ZFS is "pretty much everything". I host my media for Kodi over Samba and DLNA, git repos, all my persistent datastores (Postgresql/MySQL, Elasticsearch, etc.), my illustrious Minecraft server for my friends and family, and plenty more.
As a very minor side note, I'm trying to write more technically-inclined articles, but usually try way too hard to make them formal and perfect, so this is going to be a little stream-of-consciousness. Apologies if it's hard to follow!
The Failure
A couple of days before I was set to fly to San Francisco for a conference, accessing my NAS got sluggish. I centralize any state I care about on my fileserver, from my private gitolite repositories to my wedding photos, so this data is kind of important. The first signs of slowdown came when using my various Kodi setups in my house: reads and writes to their shared MySQL storage backend (hosted on my NAS) started to hang.
Side note: I run zfs scrub on a systemd timer, but my automation to alert me to failed scrubs (which were indeed failing) wasn't properly alerting me.
There's a lesson here about validating your automation, but that's a task for another time.
The first step is always to check the storage pool. Typically, the healthy disks look like this:
NAME STATE READ WRITE CKSUMtank ONLINE 0 0 0raidz2-0 ONLINE 0 0 0ata-<disk id> ONLINE 0 0 0...more disks... ONLINE 0 0 0
Without any checksum errors. This time, I had:
NAME STATE READ WRITE CKSUMata-<disk id> ONLINE 0 0 <not-zero>
No bueno. The first step I wanted to take was to verify that something was awry with the disk, so I first cleared any errors:
shellsudo zpool clear tank
And initiated a new scrub.
sudo zpool scrub tank
That kicked off a scrub, but I wanted (naturally) to see how the scrub was progressing.
Turns out that any subsequent invocations of zpool status tank hung forever.
When I say frozen, I mean that any kill -9 on related process got stuck as well – it was bad.
I ended up rebooting, and at that point, any attempts to zpool import tank also hung at the terminal.
I've got pool problems.
After ordering another disk off Amazon (priorities), I started to dig into what could be happening.
The Debugging
Unfortunately, failures like this one – frozen ZFS utility commands – didn't turn up widely on any search engines. Most ZFS tutorials are concerned with setup/replacement of pools, so coming up with a path forward that didn't involve blindly carving up my data made me a little nervous.
I ended up heading to #zfsonlinux in freenode and received prompt and helpful guidance from the members there.
Score a point for ZFS on Linux; the IRC community is available and friendly.
I wish I had remembered to keep a transcript of the chat log, but the tl;dr came down to somebody suggesting to disconnect the disk wholesale. Funnily enough, someone also taught me something cool I didn't know: you can also simulate pulling the plug on the disk by manipulating your virtual filesystem:
shellecho 1 > /sys/block/sda/device/delete
Unfortunately for me, even trying to traverse anywhere in that device's directory in my /sys caused my shell to lock up, so I really had problems.
Time to go caveman on my disk.
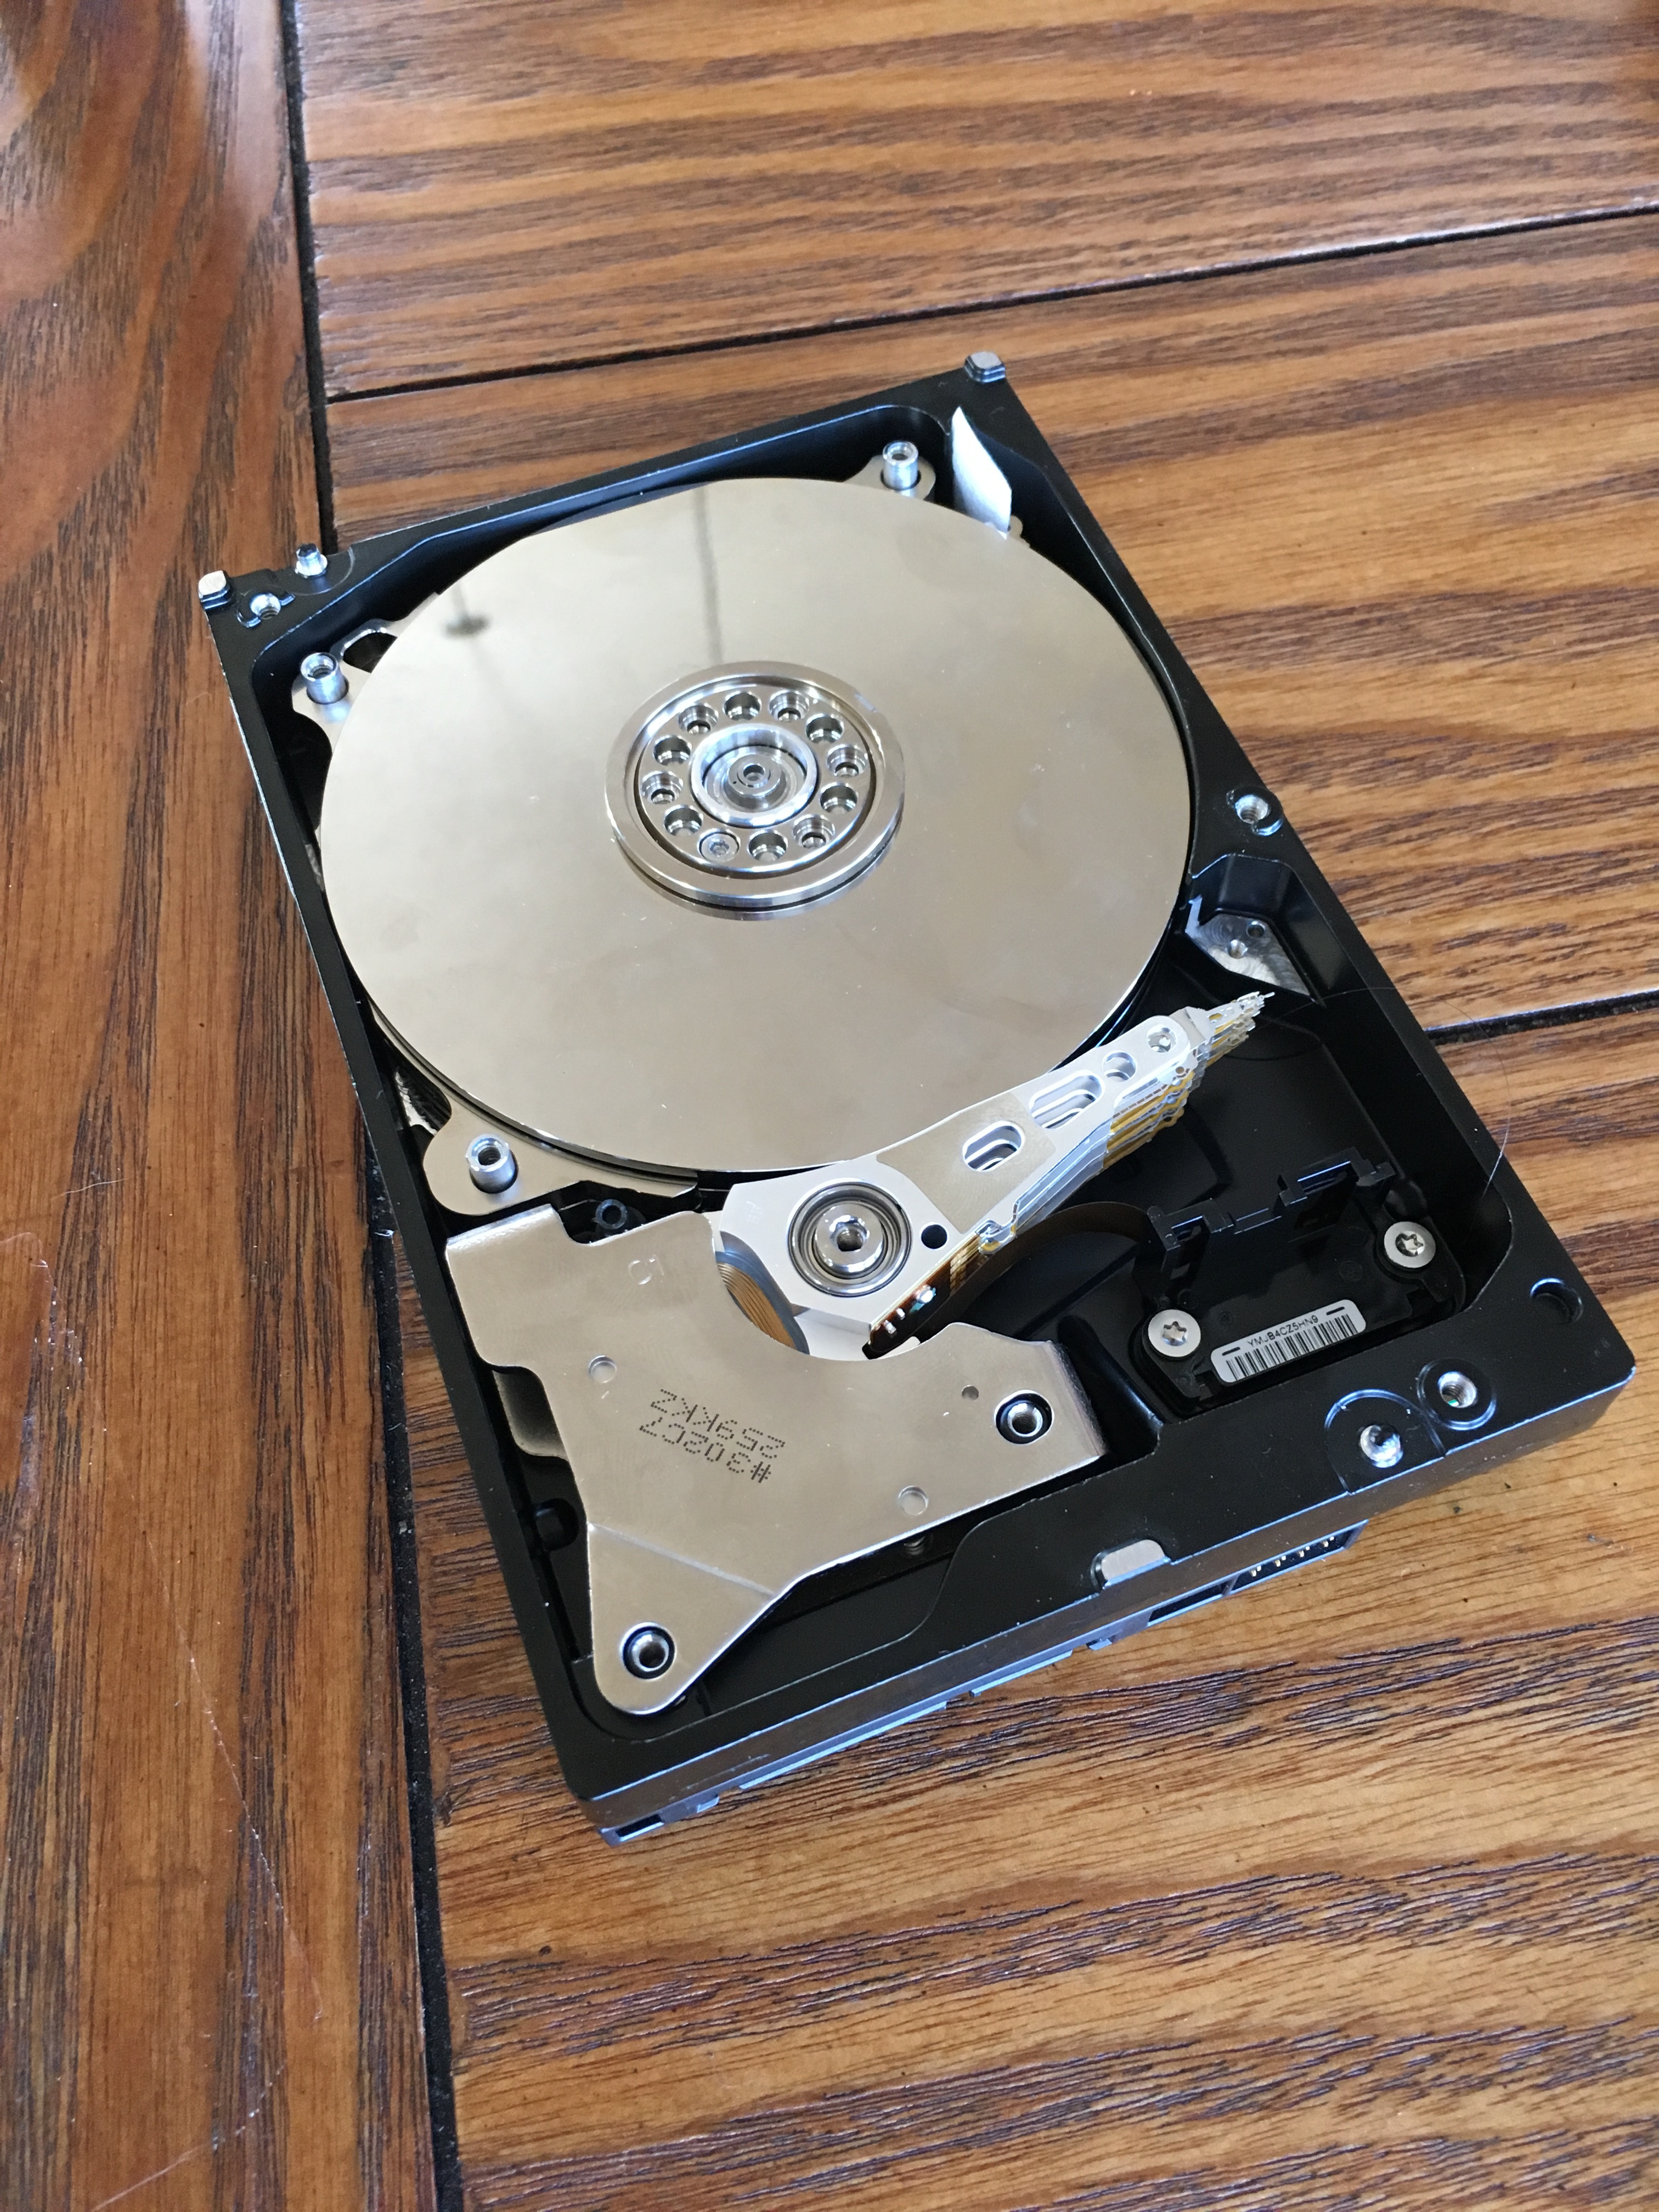
Figure 1: THE CULPRIT. Does seeing a disk's platters exposed hurt you?
The process wasn't difficult – I've got my 4-disk RAIDZ2 array housed in an old HP ProLiant N40L microserver, so it was just a matter of shutting it down, opening the bay door, and pulling out the caddy – but it's still a little surreal to cannibalize your own hardware.
After closing up my server and starting up again, my zpool commands work again – hooray! – but I am, of course, missing a disk according to zpool status.
At the very least, I've determined that yes, my disk must have failed so hard that even I/O calls from userspace caused bad lockups and the disk must be really, truly dead.
However, that's good news. While I do have a dead member of my zpool, I can still use my pool to read and write data normally since RAIDZ2 operates with two parity drives – I'm just operating in a degraded state. I could have bigger problems, like some bad metadata due to faulty RAM. However, I'm running with ECC memory, and since I can use my pool normally, we've got a typical case of device-needs-to-be-replaced instead of pool-is-corrupted-somehow, just with the minor complication of the need to physically remove the disk to get my system healthy again.
So: removed disk, need to fix it. This is the hard part, right?
The Fix
Shut off the server, insert the new disk, boot up, and:
shellsudo zpool replace tank <numeric id> /dev/disk/by-id/<new disk id>
And that was it. All of the data is still usable, but resilvering is happening in the background. As an ops person, a) removing my old disk, b) adding a new one, c) replicating the data and d) doing so without downtime with one command is kind of surreal, but there it is. My resilvering took a while (days), but I'm back at 100% without any data loss.
Lessons Learned
You thought you could get away without this part, huh?
- RAID IS NOT A BACKUP. I didn't go into the details here, but I mirror my dataset snapshots to a remote disk on a nightly basis because
zfs sendmakes this brain dead easy. Even when I considered the possibility that my pool might be corrupted and gone, I wasn't that worried since I've got backups on a remote system. Remember, RAID helps with availability and is not a backup solution. - Hardware can really screw you up. I was expecting my first disk failure to take the form of a bad scrub followed by a clean replace, but this experience should illustrate that in the case of really bad hardware, you've got to be prepared to hard swap problematic devices.
- ECC is worth the peace of mind on important systems. Whether you're using ZFS or any filesystem (seriously, it's not just ZFS, I don't know why people highlight ZFS when they talk about RAM going bad), eliminating one potential variable is really valuable. It severely cut down my list of potential culprits.
- Pay attention to your disks' physical sector size. When I bought my new disk, I goofed and bought one with a different sector size than my existing pool members, so I had to include
-o ashift=9in my replace command. Fortunately, ZFS can accommodate blunders like that.